 These instructions are strictly for inground vinyl liner pools with steel or polymer walls. Before starting, here are some common things to be aware of:
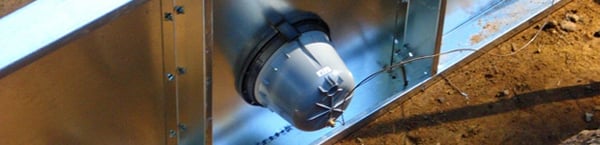
- The hole the light niche is installed in goes toward the bottom of the wall, generally a few inches above the finished floor. The installation depth of smaller lights may vary.
- LED lights and Halogen lights emit light slightly differently in pools.
- The conduit your light cord goes through will hold water. The end of the conduit should be above water level so water will not leak out of the conduit.
- There are several codes to consider and safety factors when choosing a 12v or 120v light.

Now that we’ve covered the common concerns, we can move on!
Installation
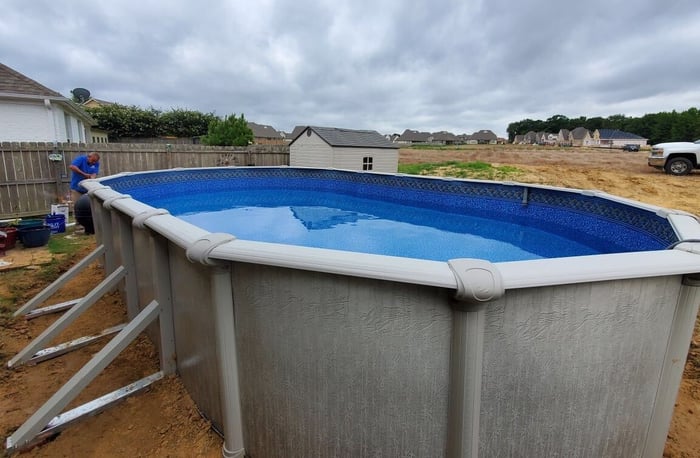
This installation procedure assumes that the wall panels are already installed and the footer has been poured.
- The light niche is inserted from inside the pool wall towards the outside. Using the provided screws, attach the niche to the wall. Usually the screws are two flat-head, machined screws, not the Phillips-head coarse-thread screws. There are typically only two of these screws. THERE IS A TOP AND BOTTOM OF THE NICHE!
This is usually the only part done before the liner is installed. Bonding and electrical conduit can be done now, or after light installation.
- Light installation. This step assumes the pool has been filled to slightly below the light level, but several inches above bottom of the wall. If you are going to perform this step after the water is over the hole, your electrical conduit must already be installed, glued, and run above water level to prevent water from leaking out of the conduit. Water will enter the conduit!
Hanging over the side of the pool wall, from the inside of the pool, locate the top screw hole in the niche. In one hand, you should have the light screw ring and the gasket, with one screw in the top hole of the ring. With one finger, find the screw hole that represents the screw that is in the light ring, and push the screw in to the hole enough just to hold itself in that spot. It doesn’t have to puncture the liner yet. With a screwdriver on the screw, you can apply pressure and start to screw the screw in. This will puncture the liner. You can also mark the screw holes if you wish. It is very important that you do not cut the liner before the ring is installed and all the screws are tight.
-
Once the ring is installed and all the screws are tightened, with a sharp razor, cut the liner away inside the ring only.
-
Hanging over the pool again, take the cut end of the wire from the light, and push it into the conduit hole. *This assumes the conduit is not there* If the conduit is already installed, you will need a wire snake, or have a string run through the conduit to pull the wire through to the end if the conduit has been run more than a very small distance.
-
Pull the excess wire out the back of the niche, leaving enough wire to allow the light fixture to sit on the deck next to the pool. Do not leave more wire than necessary, the niche will not hold much more wire than the distance from the niche to the deck.
-
Hanging over the pool, coil the light cable around the light fixture as you lower the light toward the niche.
-
Once you have the light in the niche, set the bottom tab of the light into the slot on the bottom of the light ring to hold the light steady.
- Using a screwdriver, take the light screw and install the one screw in the top of the light. Only one screw holds the light fixture in place. Water will flow behind the light into the niche. Be sure the light fixture is seated properly in the bottom of the light ring/niche so that it is not difficult to screw in the fixture mounting screw. It should not take very much force to do so. Stainless screws, or brass screws are not extremely strong, and can break off. If it takes too much force to screw in, the light is likely not aligned properly or the cord is keeping the light from going into the niche.
Congratulations! If you have made it this far, you have successfully installed a light and niche into a vinyl liner inground pool!