Once your pool walls are up and all your plumbing and electrical are in place, you'll need to install your swimming pool liner. It's a fairly simple task, and can be done with just a few people. These instructions will help you install your pool liner properly.
Installation Of The Inground Pool Liner
1. Upon opening the liner box, you will notice that the liner is marked with arrows (either on the liner box or the liner itself). Place the entire liner box in the shallow end near the break line and note which direction the liner box shows as the deep end and which is the shallow end. Keeping it rolled up, remove the liner from the box ensuring that it is facing the proper direction. After positioning the liner, remove the red arrows. Unfold the liner to both sides going towards the shallow end corners.
2. Continue to unfold the liner, carrying (not dragging) it to the break line of the shallow end and down the transition slope in order to rest the liner on the pool bottom in the deep end/hopper.
3. Back in the shallow end, line up the bottom corners of the liner accordingly. Position and adjust the liner until all points in the shallow end are aligned. To prevent the positioned liner from moving, secure the liner around the bottom of the entire shallow end with sand bags or water tubes.

4. Next, grasp the corners of the deep end portion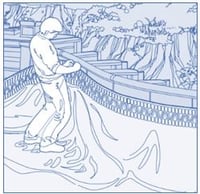 of the liner and unfold as you did in the shallow end. In the same manner, position and align the deep end of the pool. Climate any wrinkles by pulling and positioning the liner accordingly.
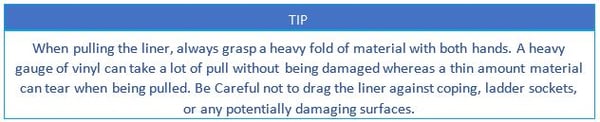
5. Once the corners are aligned, insert the bead of the liner into the coping at the corners. Once all of the corners are set, proceed to the middle of your long and short walls and insert the bead into the coping here as well. Continue to work the material from these locations towards the corners in both directions. This will allow for a better, more flush fit in all of the corners.
Final Positioning Of The Liner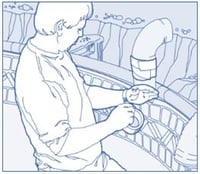
- Remove/pull back about 6" of liner from the track/coping at the shallow end break point, or if you are installing a flat bottom pool liner do this near the center of the longest wall of the pool.
- Insert the suction hose of a commercial vacuum between the vinyl liner and the wall about 4"-6"from the pool floor or approximately 20” from the top of the pool.
- Create a seal around the hose to make the insertion point airtight. Use tape that will not damage the print on the liner and/or avoid putting any tape on the print. Seal all other openings into the pool, such as the skimmer cover, pipe ends, and step cover to prevent air leaks.
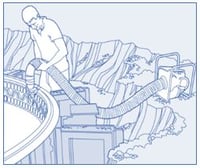
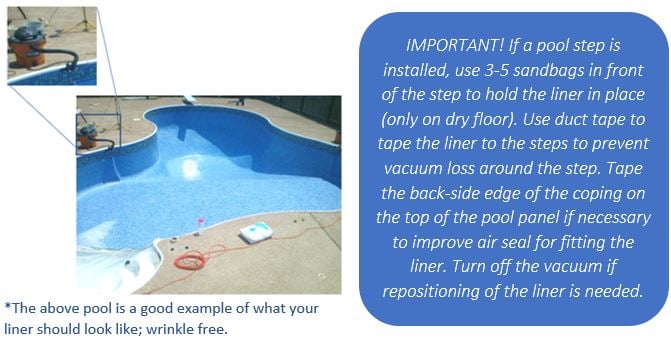
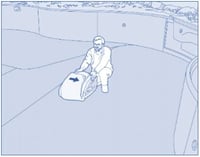
- Turn the vacuum on and work out any wrinkles while adjusting the liner’s position as needed to match the pool’s bottom shape. Wrinkles can be removed by reaching over the wall and carefully pulling on the liner sidewall material. Use caution at all time when handling the liner as not to damage it.